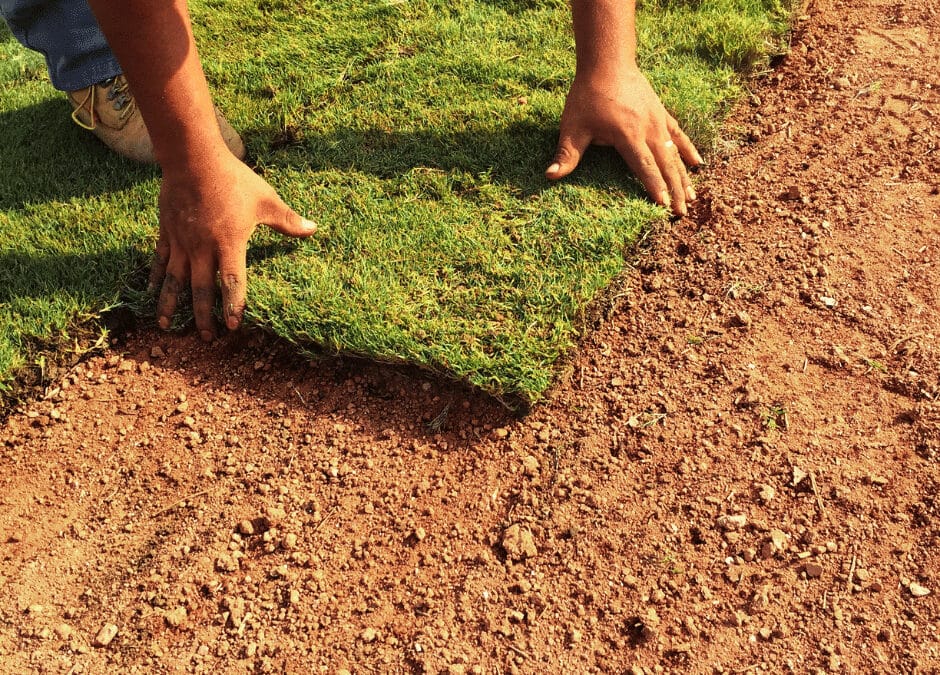
Installing sod is a great way to give your yard a fresh, green look. The process is relatively simple and can be completed in a few hours. First, you need to choose the type of sod that you want to install. There are several different varieties of grass, so it’s important to select one that will thrive in your climate. Next, you need to prepare the area where the sod will be installed. This involves removing any existing vegetation and leveling the ground. Once the area is prepared, you can lay down the sod.
Be sure to overlap the edges so that there are no gaps. After the sod is laid, you need to water it thoroughly. The Sod should be kept moist for at least two weeks so that it can establish a strong root system. Finally, you can fertilize the Sod to help it grow healthy and strong. With a little care, your new Sod will quickly transform your yard into a beautiful green space.
Maintenance After You’ve Installed Your Sod
Installing sod is a great way to achieve a beautiful, green lawn without having to wait for grass seeds to germinate. However, installing sod is not as simple as just laying it down on the ground. In order to ensure that your new sod has a chance to take root, there are a few important steps that you need to follow.
First, you need to make sure that the area where you will be installing the sod is free of debris and rocks. This will help to create a level surface for the sod to lie on. Next, you will need to loosen the soil in the area with a garden fork or tiller. This will help the roots of the sod to take hold of the ground. Finally, you will need to water the area thoroughly before and after installing the sod. This will help to keep the soil moist and prevent the sod from drying out. By following these simple steps, you can ensure that your new sod has a chance to take root and create a healthy, green lawn.